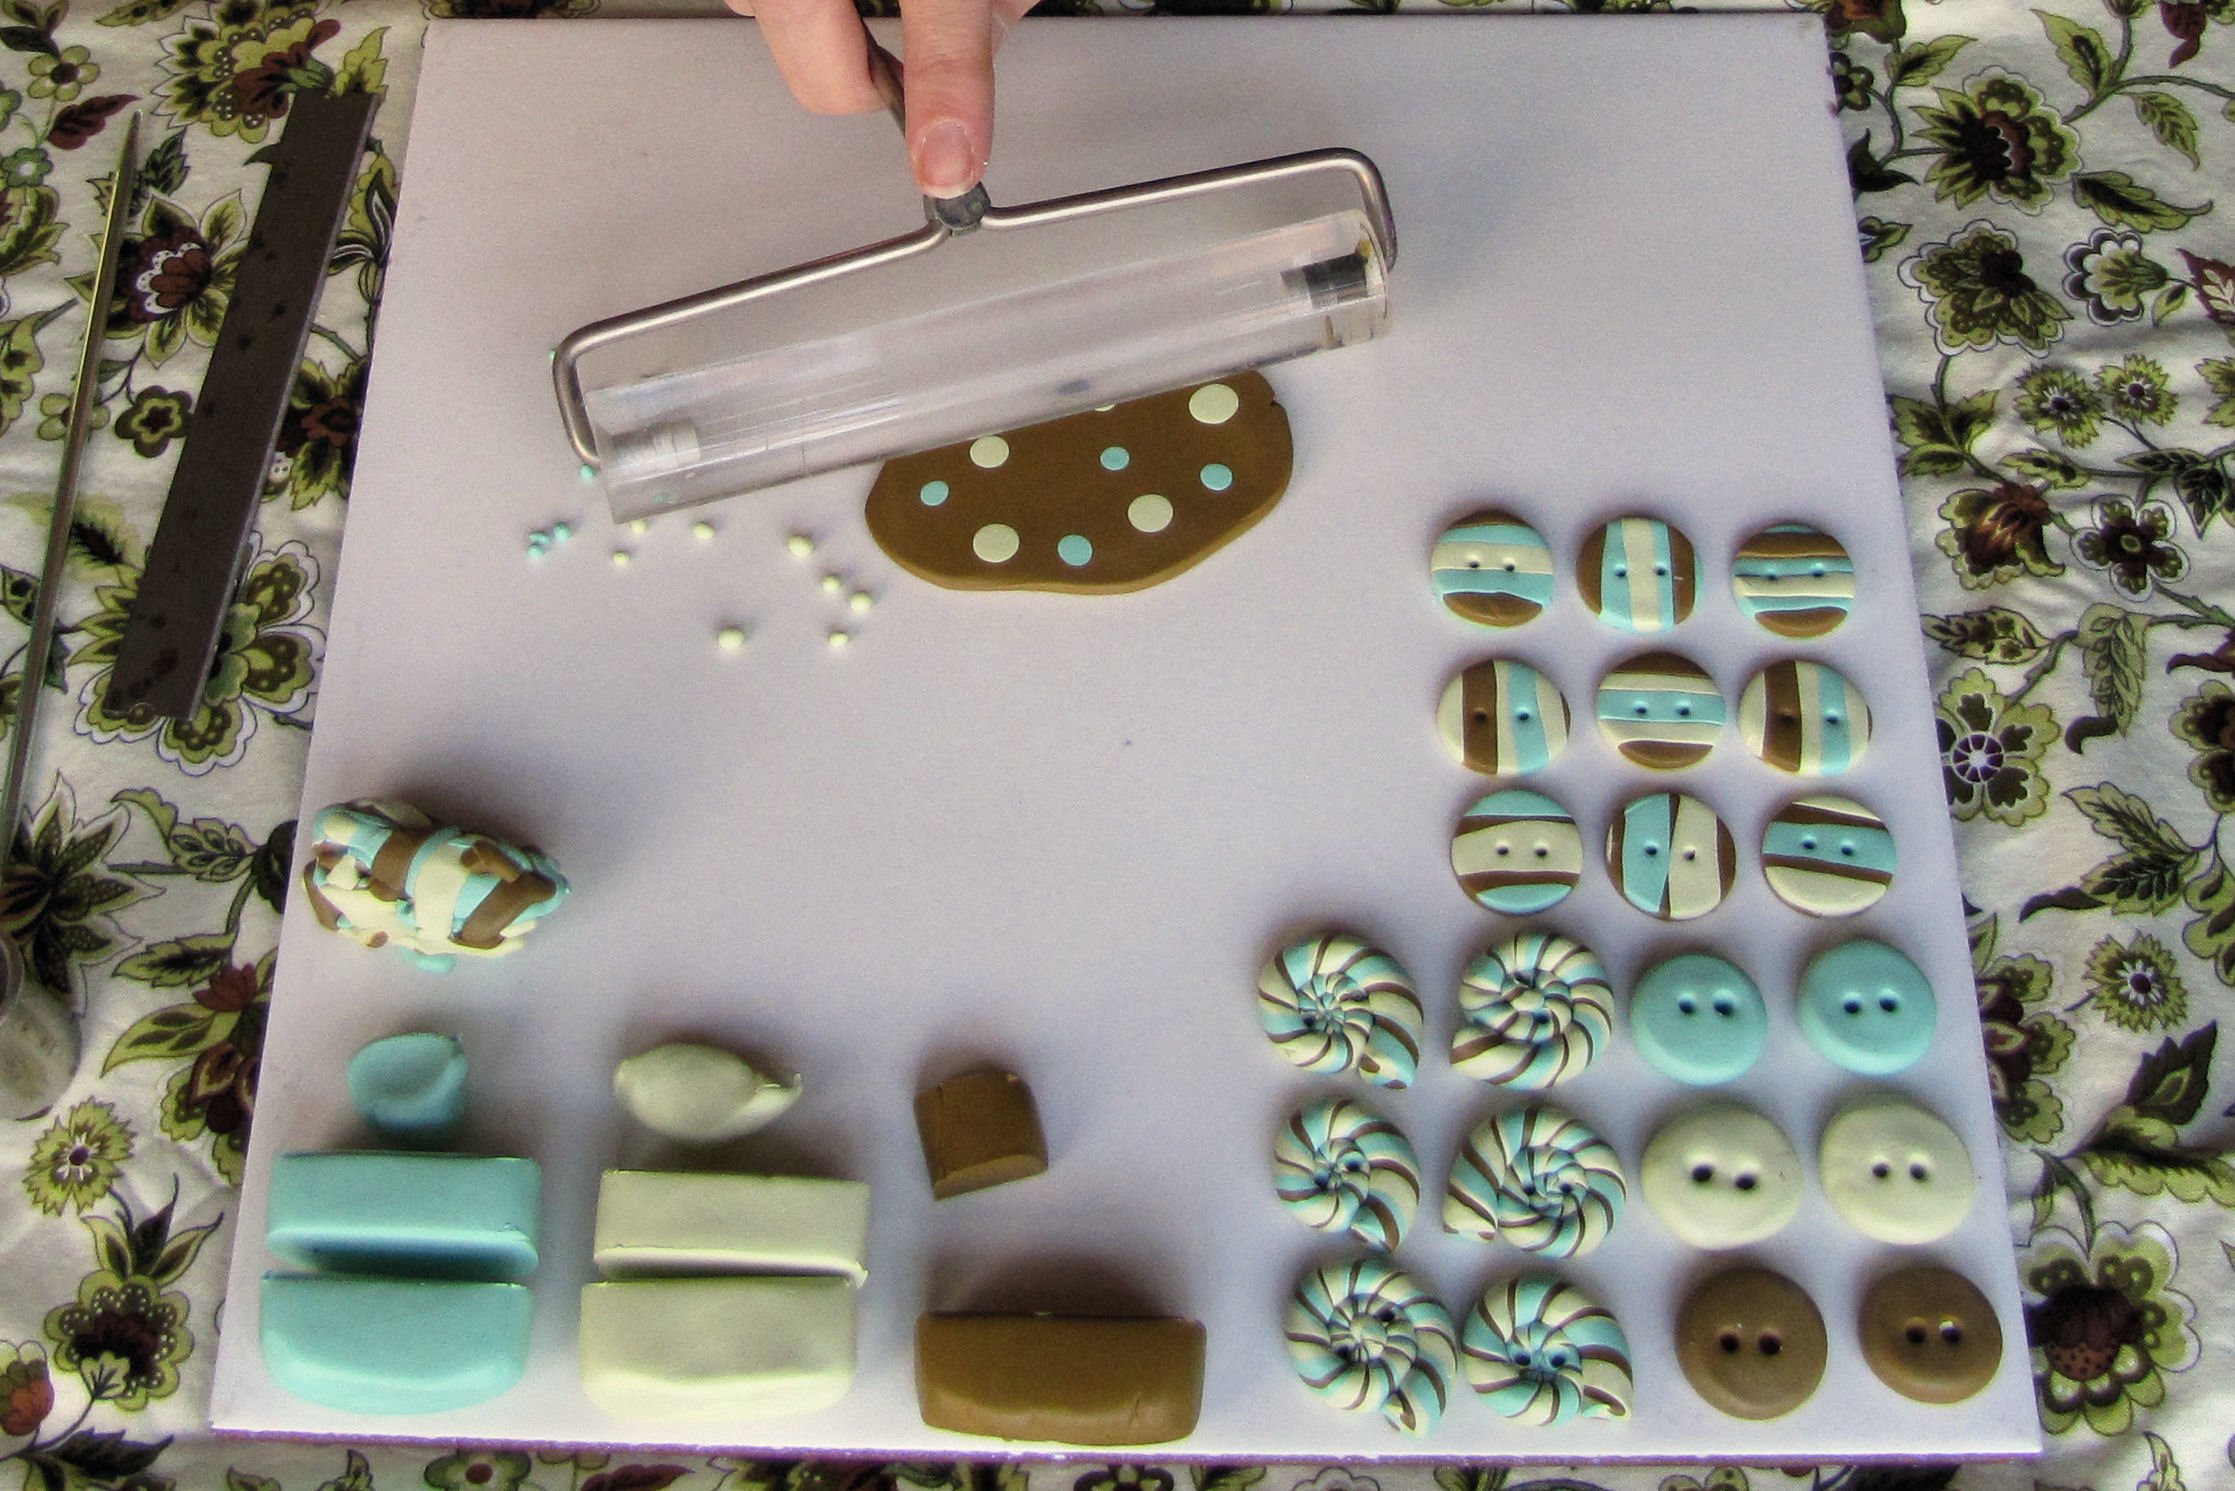
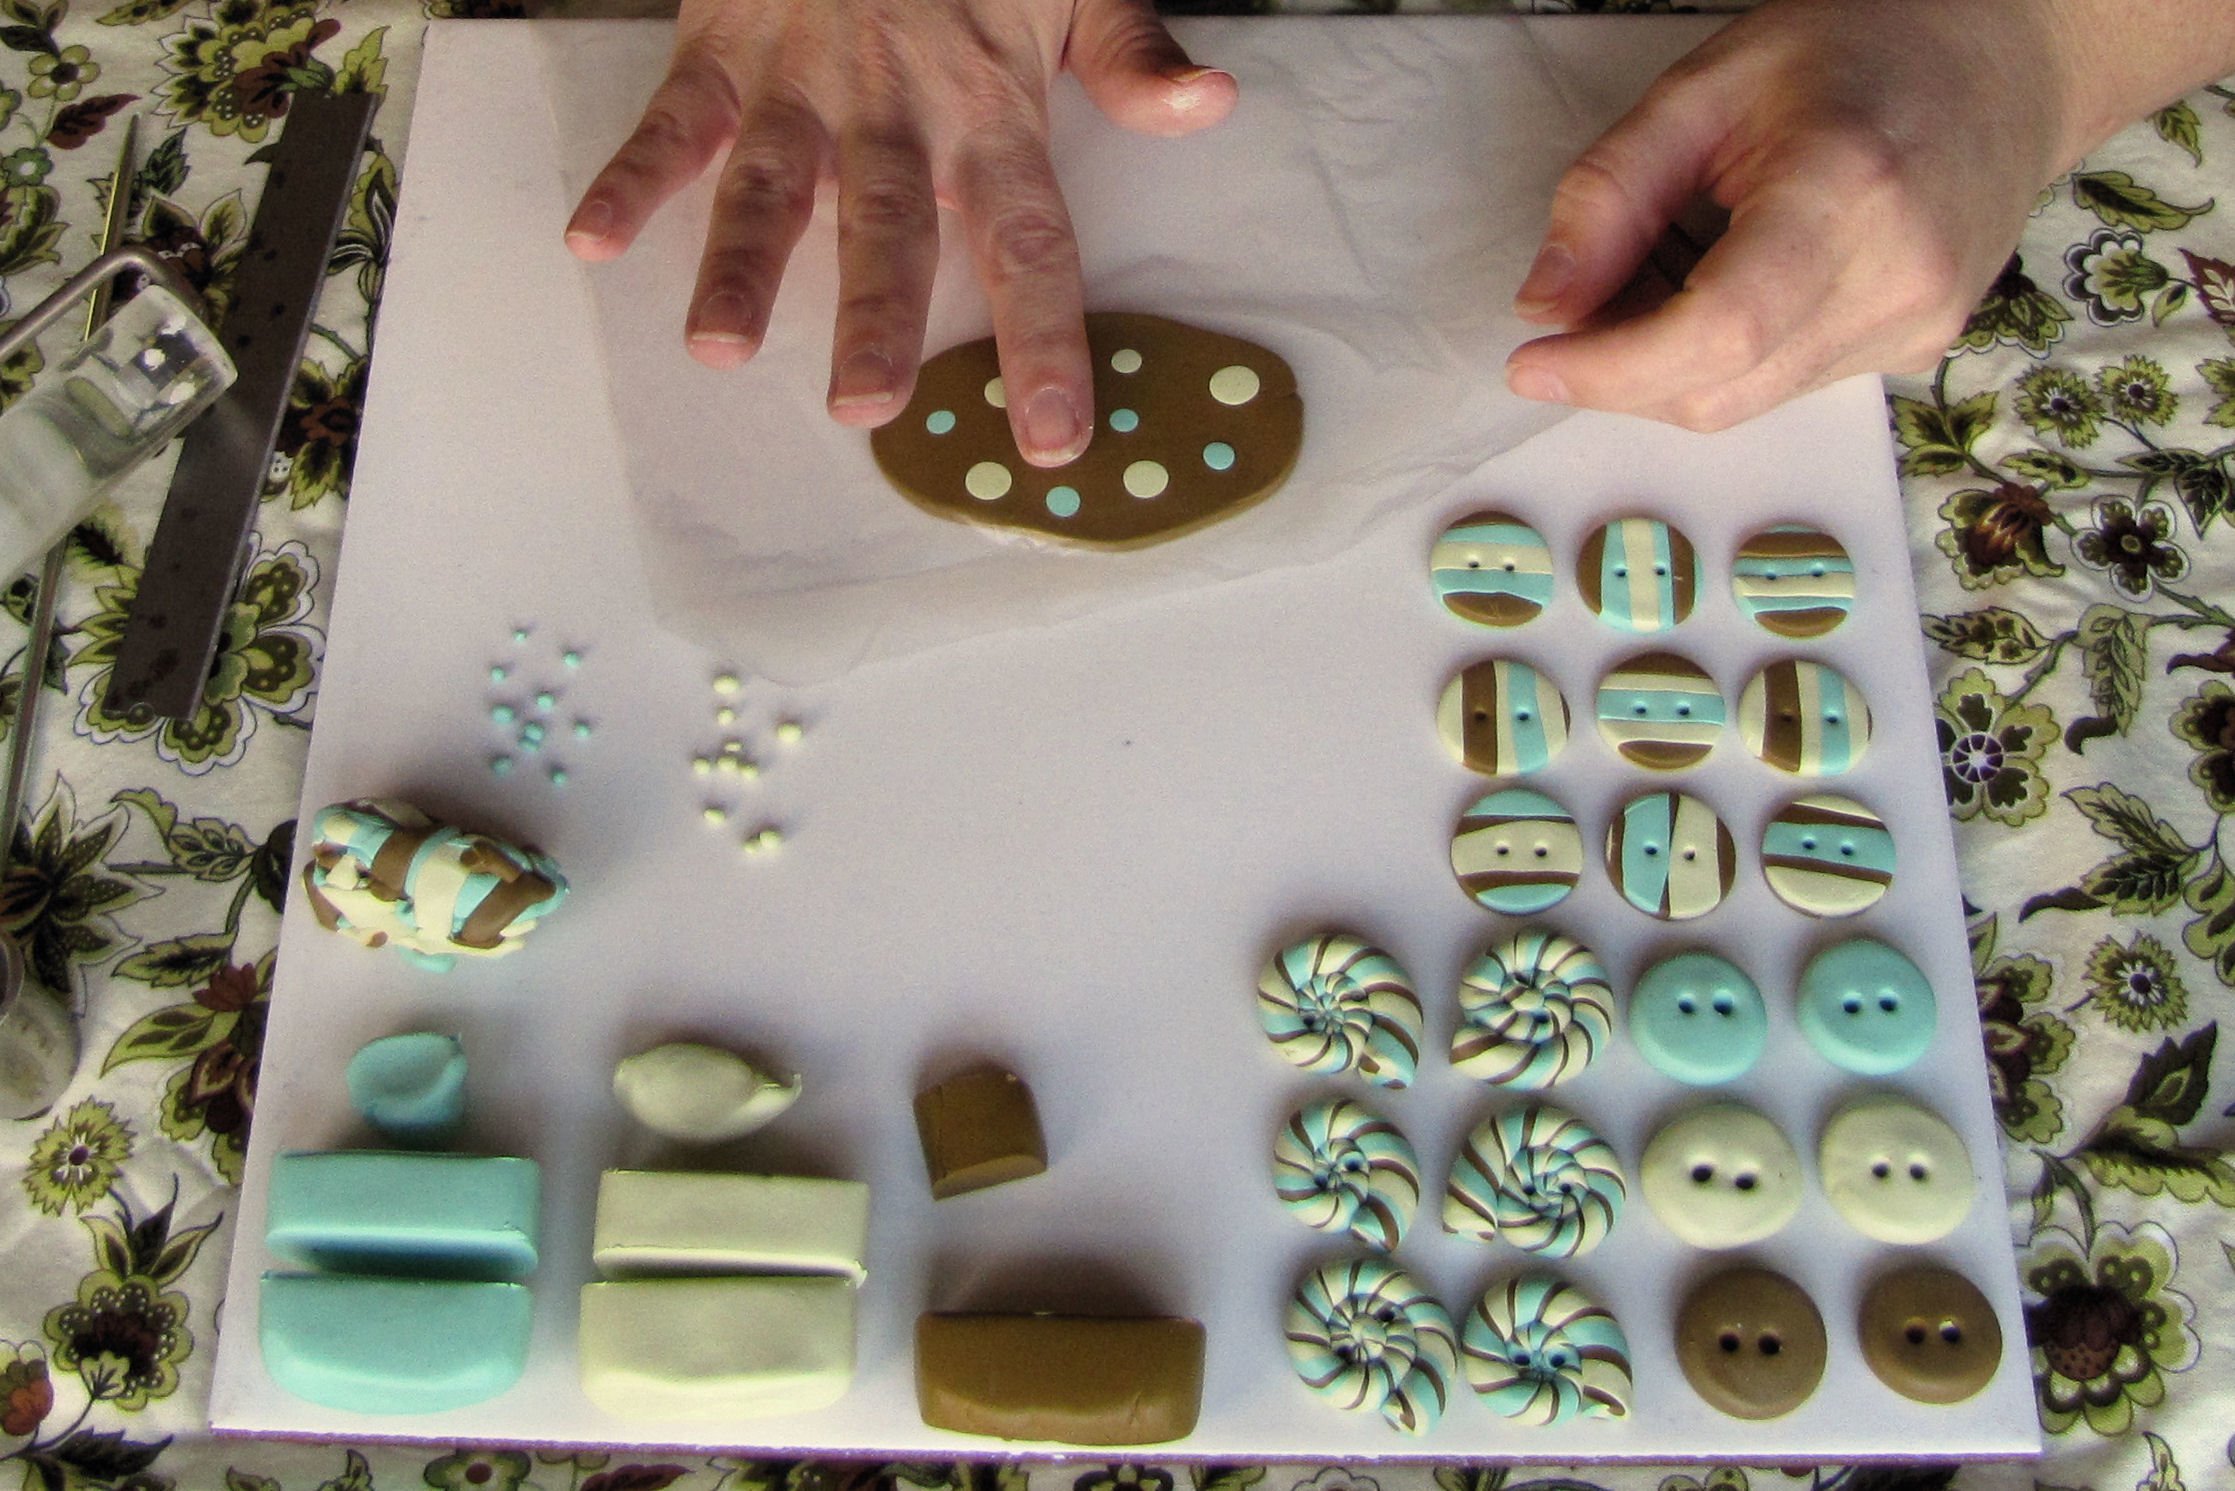
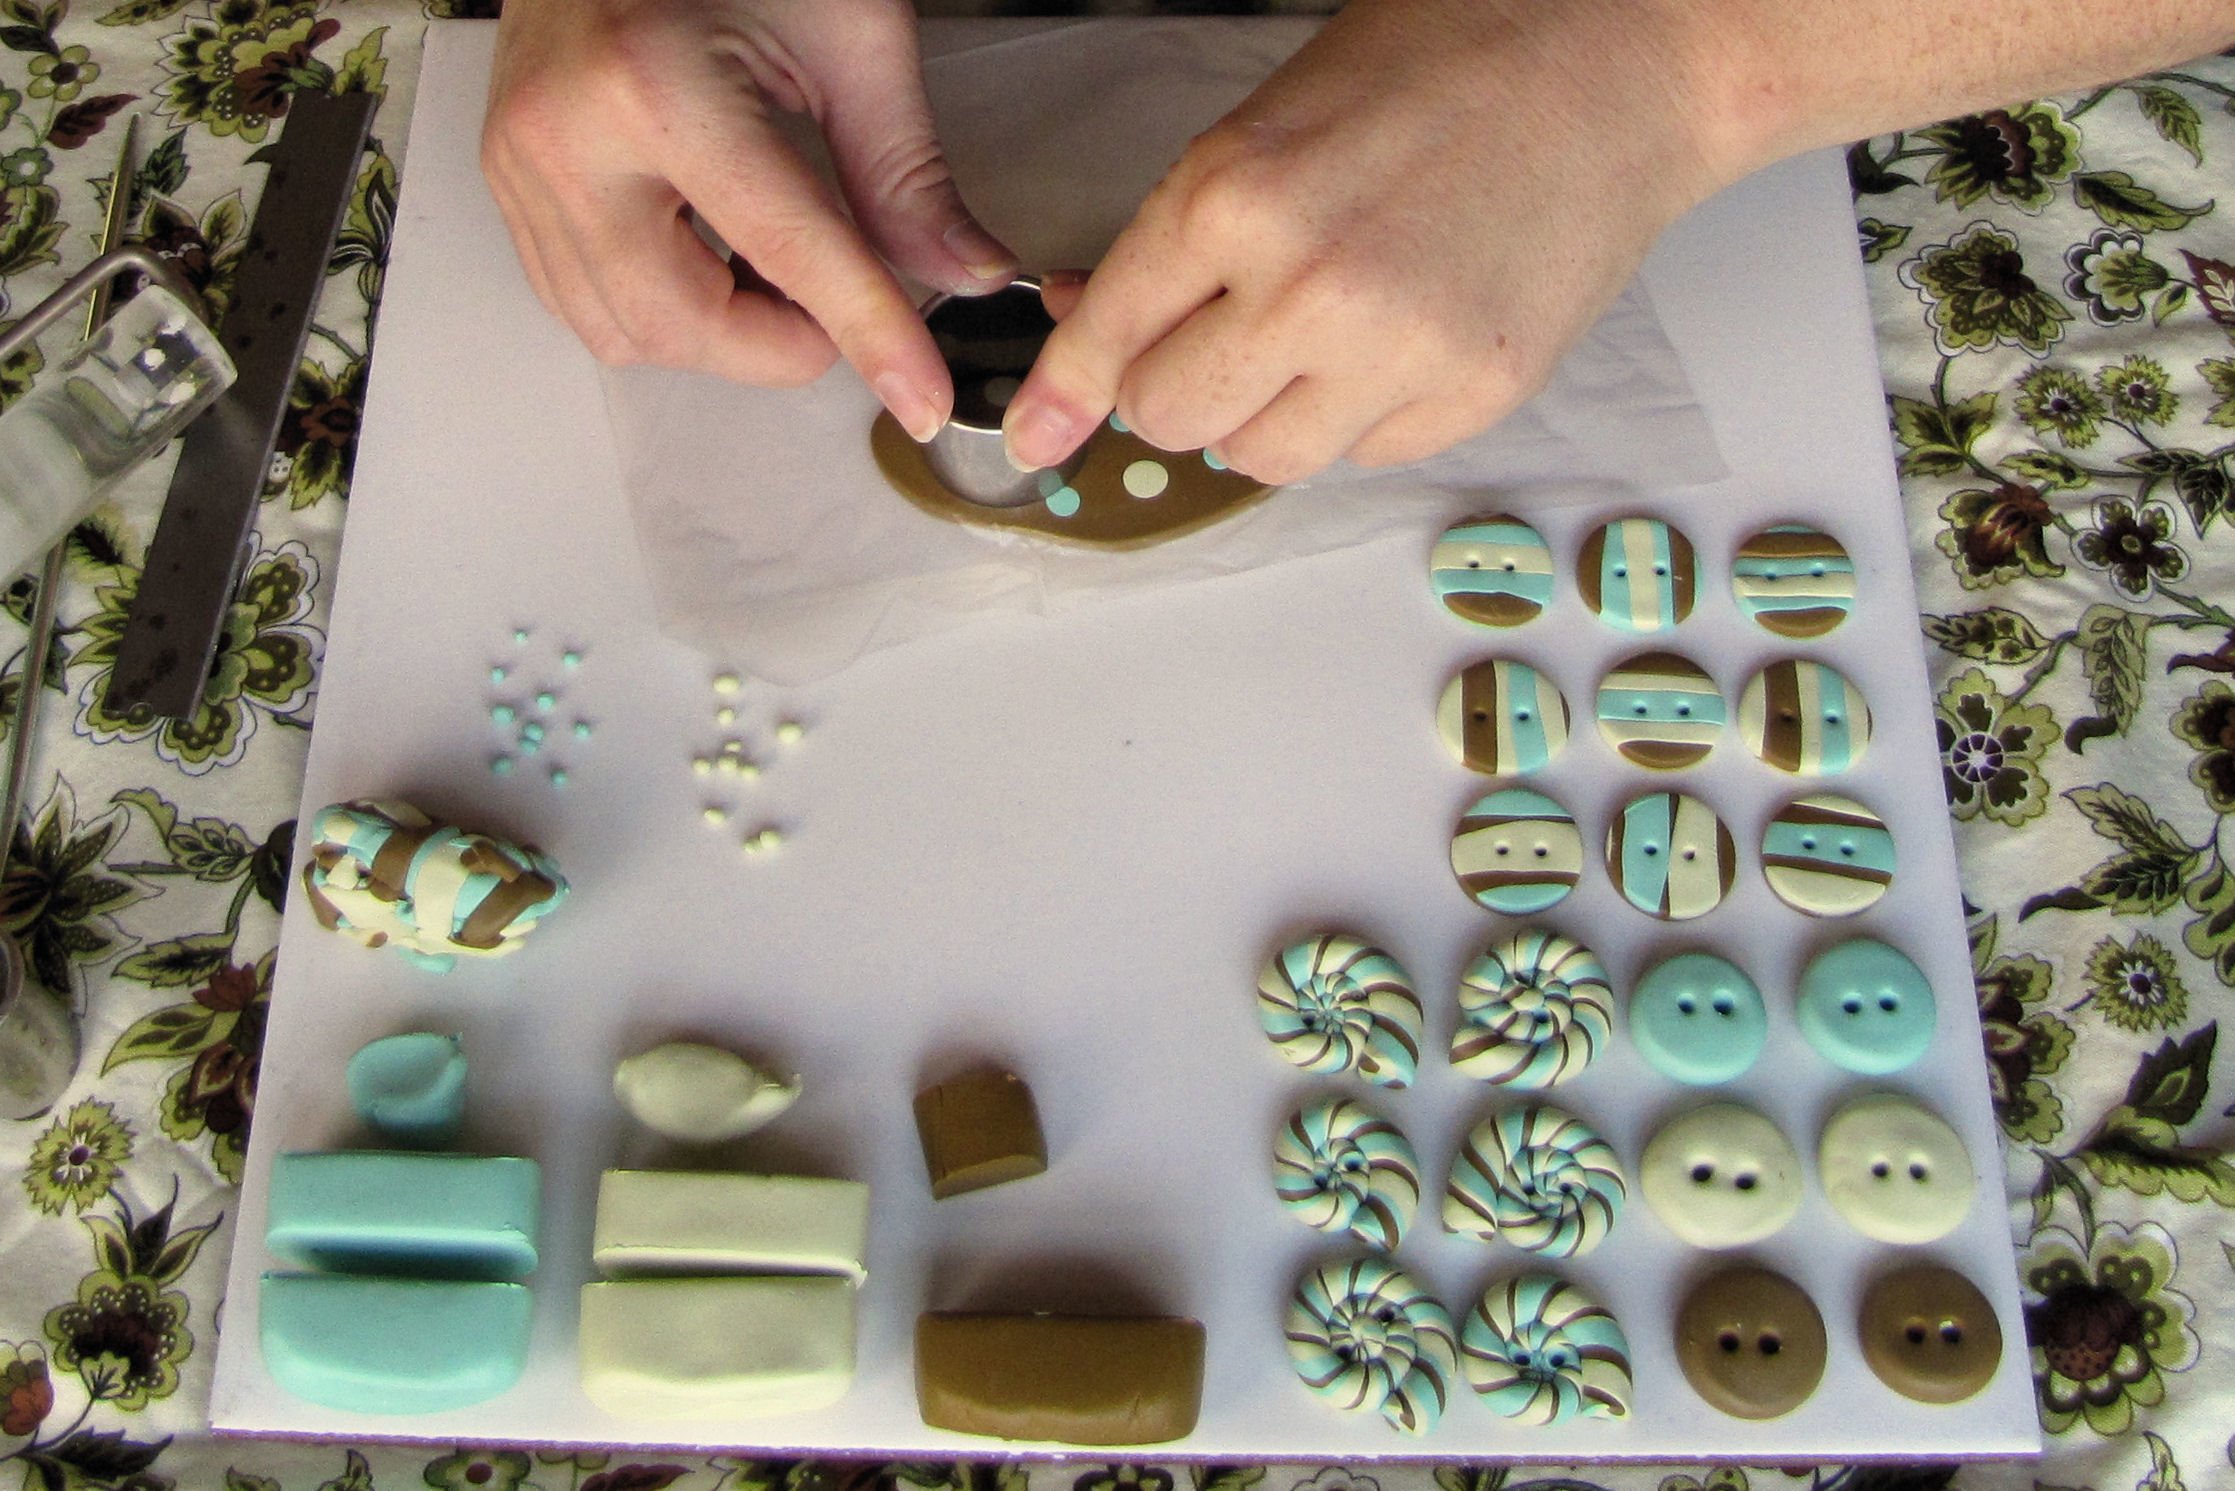
In giro per facebook si trovano diversi tutorial delle nostre colleghe americane..
Qui un seguente di un grazioso passo a passo su come fare bottoni in fimo..e tanta fantasia, sempre è l'ingrediente principale!!
Buon week ragazze della soffitta!!
Posted March 1st, 2011 by
Lisa
[
Sorry I'm late with this lesson - the stomach bug got me. Let's
hope I've manage to be coherent with this through the last remnants of
my fever!]
I hope you enjoyed making the
Assymetrical Stripe Buttons last week. Be sure to go back and check the comments and galleries on
the previous lessons, because often there are questions asked and answered – you might find the extra information helpful.
For this fourth lesson, we will be making large beveled-edge polka
dot buttons. We’ll be making six of them, two in each background color.
If you need a refresher on
Conditioning or
Baking your clay, you can find these instructions, as well as a
Supplies + Tools list in
Lesson One.
Additional Tools
- 1.25-inch round cutter. You can use the smaller
cutter from the previous lesson for this, if you don’t want to buy
another cutter. The technique is the same, you will just end up with
smaller [and more] buttons.
- brayer or acrylic rod.
- sheet of plastic wrap like Saranwrap or deli wrap.
Directions

Just like we did with the striped buttons, we are going to start this
set by flattening out a slab of clay. This time, though, we are using
an entire 1/4 piece so that we may have enough space to cut out two
large buttons.
Condition and roll out your base color until it’s between 1/8-inch
and 1/4-inch thick. The slab should be large enough to cut out two
buttons with your large circle cutter.
Pinch of tiny pieces of clay in your two accent colors, and roll them between your fingers into 1/8-inch balls.

Press the balls into the slab, flattening them as you do. Continue until you have a pleasing pattern.

Use the brayer to make sure the dots are firmly adhered to the base.
It is not necessary to smooth out the joins between the two colors, but
you can do so, if you like. Just be careful not to thin the base layer
out too much.
Roll in multiple directions to avoid distorting the dots into ovals.

Place the sheet of plastic wrap over your slab, smoothing it down with your finger.

Cut your buttons, right through the plastic wrap, repositioning the wrap after each cut.

Do you see how nice and smooth the edges of these buttons are
compared to the last set we made? The plastic wrap softens and bevels
the cut edges.

Poke your holes, and you’re good to go!


 Chissà dove ancora mi porterenno i miei sogni..e a voi Ragazze della Soffitta, come sempre a quest'ora per chi come mè rimane incantanta dalla luna, augura sogni incantati!!